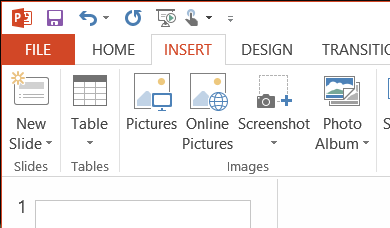
Open a new blank presentation. Then, select the Insert tab.
In the Images section of the Insert Tab, click on Photo Album.

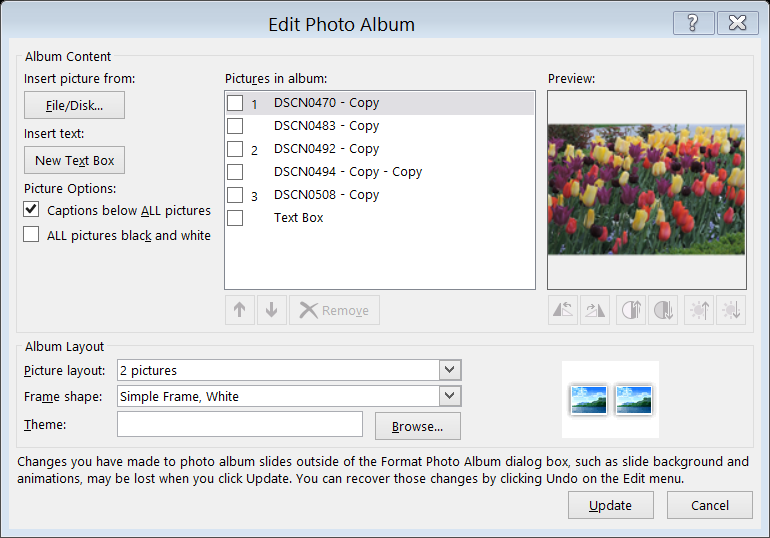
From this window, you can insert the pictures you want to include. After you insert some pictures, you can choose a layout and designate Captions to be added (only if you select a picture layout other than Fit to Frame). Click Create to finish.

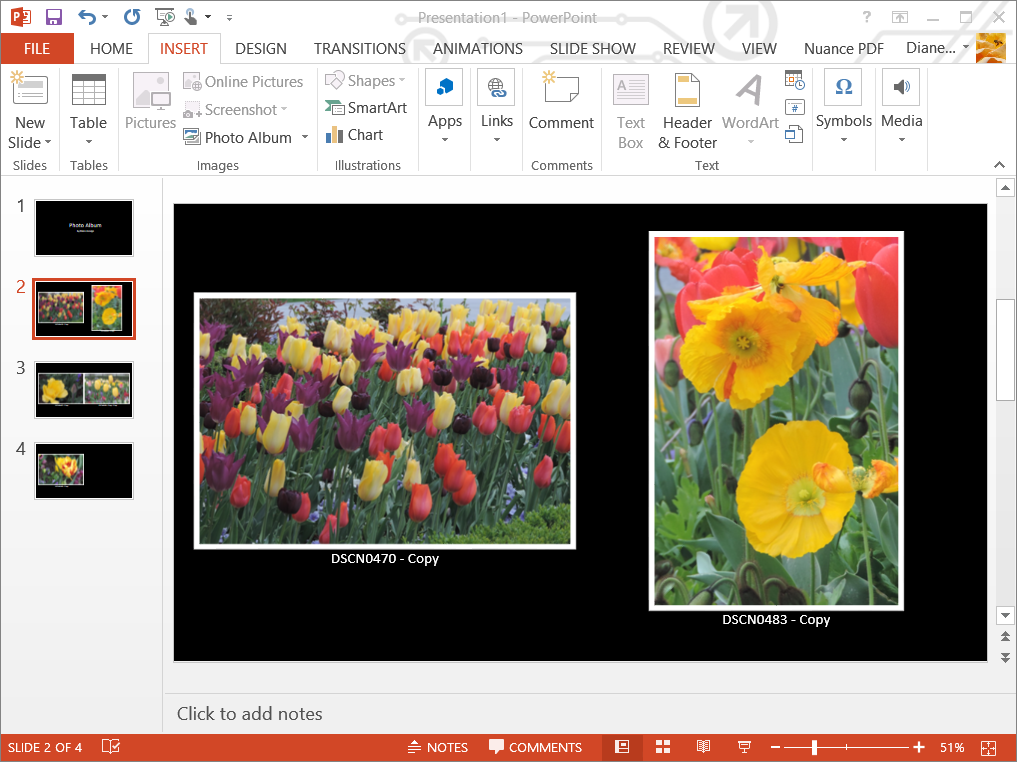
The result looks like this in PowerPoint:

PowerPoint grabs the file name for the caption, but you can modify it to be whatever you want. The default background is black, but you can apply any theme you like or just change the color scheme.
Once you create the album and select a slide, you can return to Insert, then Photo Album (click on the small arrow) to edit the layout, add more photos, and more.
The result is a PowerPoint presentation that you can display as with any other PowerPoint presentation. Among the options for saving it are to Save As to any other format that PowerPoint allows, including PDF files. You can also Export it to create a PDF, video or package it on a CD to send to someone else. There are more options for you to explore.


